 Save
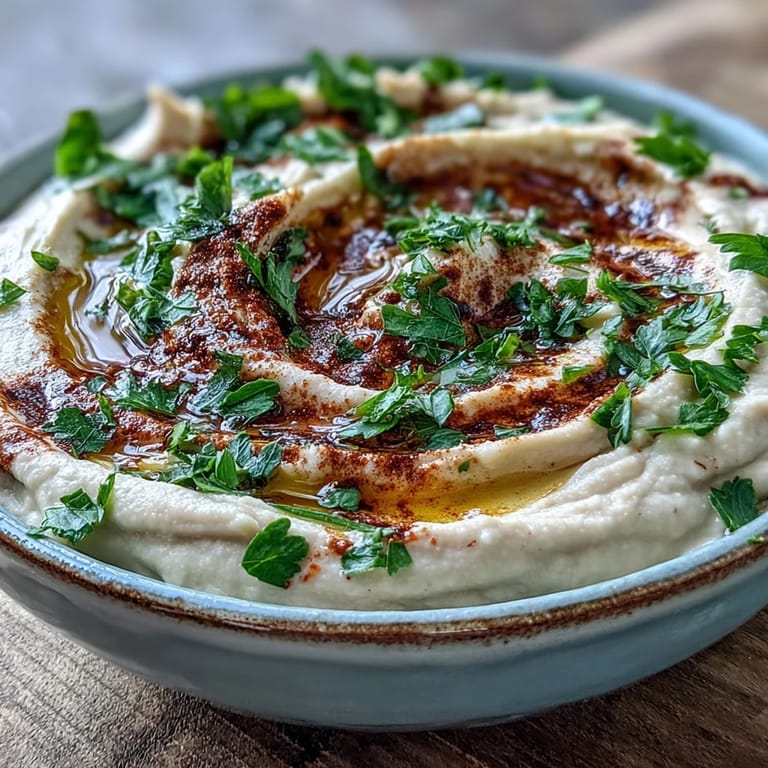
Save The first time I made this black-eyed pea hummus was on a rainy Tuesday when I'd forgotten to buy chickpeas at the store. The food processor was already out on the counter, mocking me with its empty bowl, so I grabbed a can of black-eyed peas from the back of the pantry and decided to see what happened. That accidental experiment has now become one of the most requested dips at every gathering I host, and honestly, I prefer it to traditional hummus now.
I brought a batch to my friend Sarah's potluck last month, and people kept asking me what restaurant I'd bought it from. The best part was watching her partner, who claims to hate hummus, go back for fourths with carrot sticks. When I finally told them it was made with black-eyed peas, Sarah looked genuinely shocked and immediately texted her sister the recipe.
Ingredients
- Black-eyed peas: These are the real star here, with a natural creaminess that makes the hummus feel luxurious without needing excessive oil. Canned works perfectly, but if you're cooking from dried, they freeze beautifully so you can always have some ready.
- Tahini: Look for a brand that's well stirred, not separated at the top, because that creamy consistency makes all the difference in how smooth your final dip becomes.
- Garlic: Fresh minced garlic gives you that kick, but if you're sensitive to raw garlic's bite, let it sit in the lemon juice for 5 minutes before blending to mellow it out.
- Cumin: This warm spice bridges the gap between Southern black-eyed peas and Middle Eastern hummus, creating something that feels familiar but unexpected.
- Fresh lemon juice: Don't even think about using bottled juice here. Fresh lemon is what cuts through the rich tahini and makes every bite feel bright and alive.
Tired of Takeout? 🥡
Get 10 meals you can make faster than delivery arrives. Seriously.
One email. No spam. Unsubscribe anytime.
Instructions
- Blend your base:
- Throw those black-eyed peas into your food processor along with the tahini, olive oil, lemon juice, garlic, cumin, and salt. Pulse it a few times to get things moving, then let it run for a full minute while you check your phone or chop some garnish.
- Perfect the texture:
- Open the processor and scrape down those stubborn bits clinging to the sides, then add water one tablespoon at a time until you hit that dreamy, scoopable consistency you're after. It should hold its shape on a spoon but still look velvety smooth.
- Taste and adjust:
- Grab a carrot or celery stalk for a taste test. Does it need more salt to pop? A squeeze more lemon for brightness? Trust your palate here, and remember that flavors will meld and mellow slightly in the fridge.
- Make it beautiful:
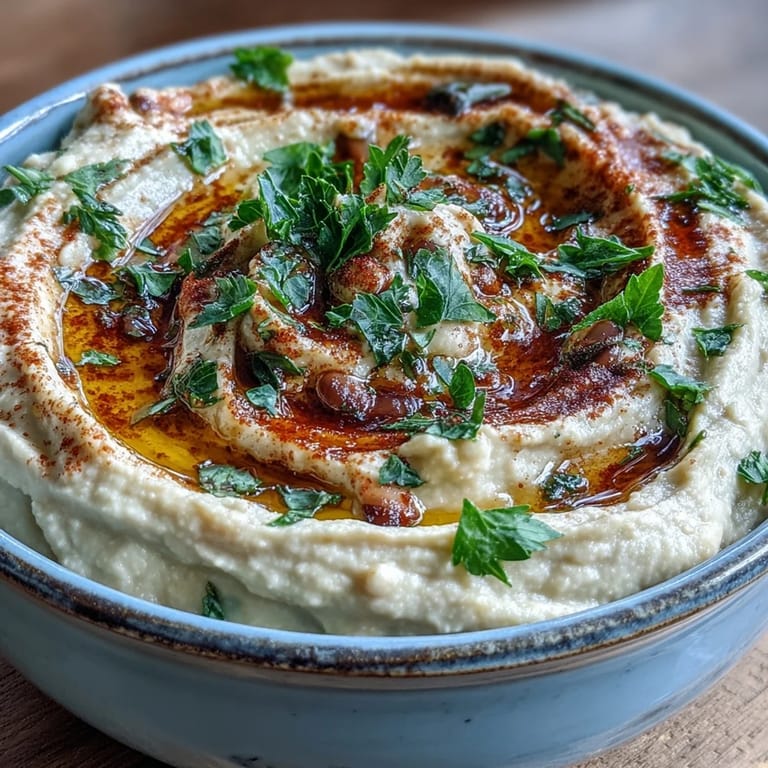
- Swirl that hummus into your prettiest serving bowl, then take the extra 30 seconds to drizzle olive oil across the top and sprinkle with whatever catches your eye. Those little garnishes aren't just pretty, they tell people this is something special.
 Save
Save My neighbor's kids used to turn up their noses at anything called hummus, but when I told them this was magical black-eyed pea dip, suddenly they were fighting over the last scoop. Sometimes it's all about the marketing, right? Now they request it for every single movie night.
Making It Your Own
Once you've mastered the basic recipe, the variations are endless. I've added roasted red peppers for a smoky version that disappears even faster than the original. Fresh herbs like basil or cilantro blended right in can transform it completely. My sister swears by adding a spoonful of Greek yogurt for extra tang and protein.
Serving Suggestions That Work
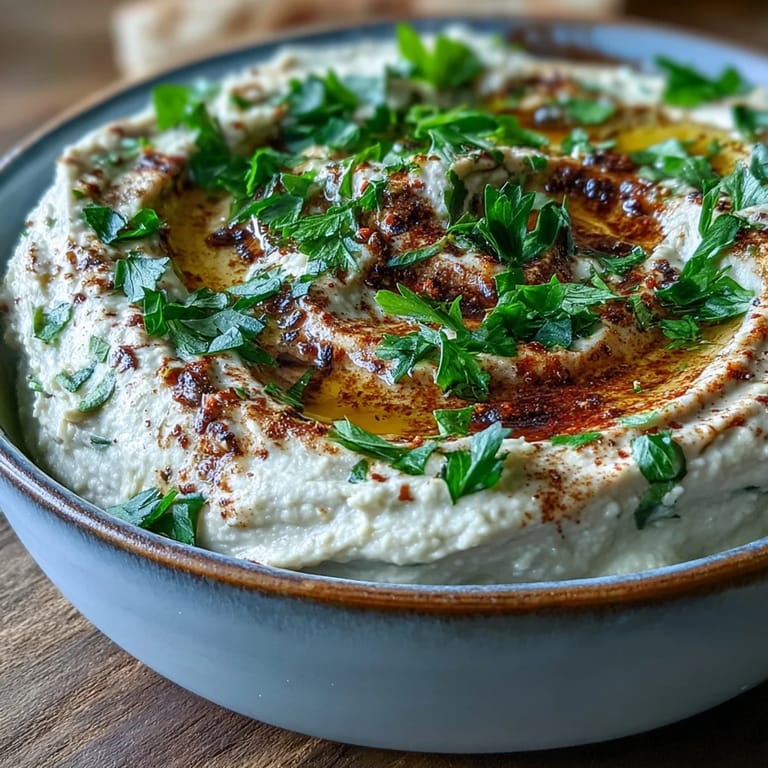
Beyond the usual pita bread and vegetable sticks, this hummus shines as a sandwich spread, especially on roasted vegetable wraps. I've even used it as a base for grain bowls, topping it with warm spiced chickpeas and pickled onions. The other day I spread it on toast and topped with sliced avocado for breakfast, and honestly, I haven't stopped thinking about it since.
Make-Ahead Magic
This hummus actually tastes better after it sits for a day, letting all those flavors really get to know each other. I often double the batch and keep one container for immediate snacking and another for the rest of the week. It's become my go-to for those inevitable nights when I need something substantial but don't have the energy to cook.
- Let the hummus come to room temperature for 20 minutes before serving, it makes such a difference in how the flavors present
- If you're meal prepping, pack garnishes separately so nothing gets soggy
- A quick stir and a fresh drizzle of olive oil brings leftovers back to life beautifully
 Save
Save Hope this finds its way into your regular rotation, right alongside those old reliable favorites you turn to without thinking. There's something wonderful about having a recipe that feels both familiar and completely new at the same time.
Recipe FAQ
- → Can I use canned black-eyed peas?
Yes, you can use one can of black-eyed peas, drained and rinsed, which saves time and works perfectly in this spread.
- → How long does this hummus last?
Store in an airtight container in the refrigerator for up to 4 days for optimal freshness and flavor.
- → Is this suitable for vegans?
Yes, this spread is completely vegan and gluten-free when served with appropriate accompaniments like vegetables or gluten-free crackers.
- → Can I make this without a food processor?
A food processor works best for achieving the smoothest texture, though a high-speed blender can also be used with careful blending and scraping.
- → What can I serve with this hummus?
Pair with fresh vegetables like carrots and cucumber, pita bread, crackers, or use as a spread on sandwiches and wraps.