 Save
Save When the kitchen fills with the nutty aroma of cheddar and the sharp brine of olives, it always brings a little sense of occasion—no matter how ordinary the day. The idea for these Derby Party Olive Cheese Balls came to me while prepping appetizers for friends with an appetite for salty snacks and finger foods that look as fun as they taste. Something about tucking a plump, glossy green olive into a blanket of cheesy dough felt both mischievous and celebratory. That first batch disappeared almost as fast as I could bake them, so now I plan ahead with double portions and plenty of skewers. There’s never a leftover to bring home, and somehow every get-together becomes a little more lively when trays of these golden beauties emerge.
One memorable spring, just as the rain let up and the Derby playlists came out, I handed my dad the baking sheet with a mock seriousness—he pretended to inspect and judge each cheese ball by weight and color, then promptly ate three. It’s those moments of warm laughter and the clink of skewers against plates that make this dish a true celebration snack in our family.
Ingredients
- All-purpose flour: Gives the dough structure and keeps it tender—sifting first helps with a softer texture.
- Sharp cheddar cheese (shredded): Choose extra sharp for the most flavor impact, and shred from the block for best melting.
- Unsalted butter (softened): Ensures every bite is rich and works much better at room temperature—don’t rush this step.
- Cayenne pepper (optional): Just a pinch brings a whisper of heat that plays perfectly with the cheese and olives.
- Smoked paprika: Adds a subtle warmth and that irresistible color—this was a game changer once I tried it.
- Salt: Balances the cheesy richness—taste your cheddar to decide if a touch more is needed.
- Large green olives (pitted): Spanish Manzanilla olives are classic, but any plump, briny variety works well as long as they’re not too small.
- Appetizer-sized skewers or toothpicks: Not just for easy serving, but they turn a simple snack into a party centerpiece.
Tired of Takeout? 🥡
Get 10 meals you can make faster than delivery arrives. Seriously.
One email. No spam. Unsubscribe anytime.
Instructions
- Get the kitchen ready:
- Preheat your oven to 400°F (200°C) and line a baking sheet with parchment paper—there’s something satisfying about that first crinkle of the paper.
- Mix the cheese dough:
- Combine flour, shredded cheddar, softened butter, cayenne, smoked paprika, and salt in a medium bowl. Get your hands into the mix and work everything until a soft, pliable dough forms and smells buttery and cheesy.
- Divide the dough:
- Pat the dough into a rectangle, then cut into 24 even pieces—this size wraps the olive perfectly and keeps the balls bite-sized for skewering.
- Enclose the olives:
- Flatten each dough piece in your palm, pop a green olive in the middle, and gently seal the dough around it. Roll between your hands to form smooth balls, feeling for any gaps.
- Chill briefly, if you have time:
- Set the balls on your lined baking sheet and, if you want an extra tidy result, chill them in the fridge for 10 minutes to firm up the dough just a bit.
- Bake to golden:
- Pop the baking sheet into the oven and bake for 16–18 minutes until the cheese balls are deep golden and smell irresistible. Let them cool for just a few minutes—enough so they can be handled.
- Skewer and serve:
- Carefully thread each warm cheese ball onto a skewer or toothpick and set out on a platter for guests to grab and enjoy.
 Save
Save 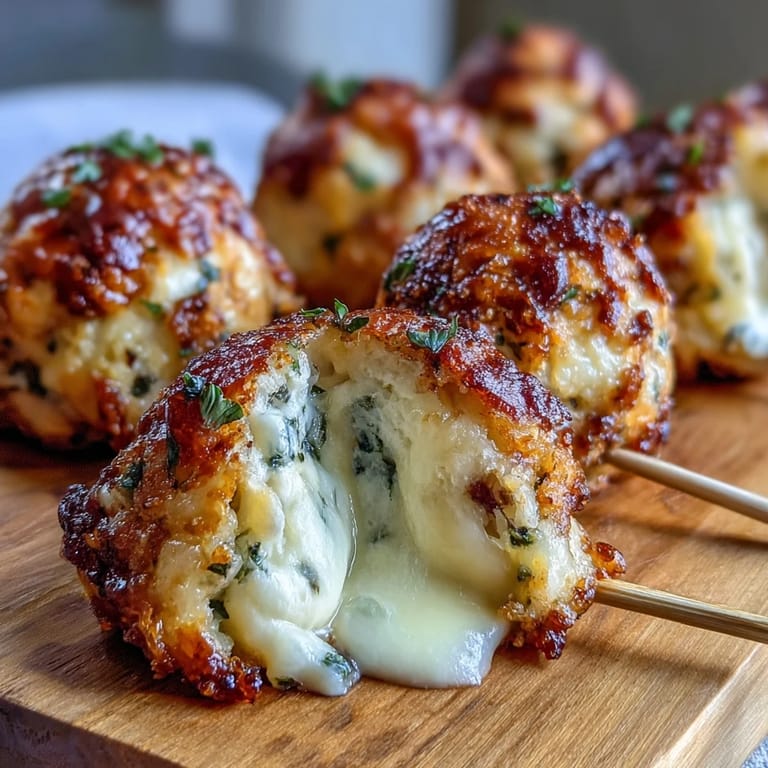 Save
Save The Derby cheese balls made their way onto the dining table one year when we had a spontaneous afterparty—half the fun came from seeing who could balance the most on a single skewer, but it was the shared bites and laughter that made that evening unforgettable.
How to Store and Reheat Leftovers
If you’re lucky enough to have any left, stash them in an airtight container in the fridge. To bring back their crispiness, a quick reheat in a hot oven (not the microwave) does wonders, and nobody guesses they’re not straight from the oven originally.
Choosing Your Olives and Cheese
I’ve found that the brinier the olive, the bigger the flavor kick, so don’t be shy with bold choices. Likewise, using hand-shredded cheese instead of pre-grated guarantees meltier, gooier results and a deeper cheddar punch with every bite.
Making These Balls Ahead for Parties
One of the real joys here is you can shape the balls a day ahead, keep them chilled, and just bake fresh when everyone arrives—the aroma is a not-so-secret party signal. If you skewer them while still warm, the cheese balls are extra inviting on a platter. For extra Derby flair, serve with little bowls of grainy mustard or drizzle with bourbon honey dip for dipping fun.
- Let guests create their own skewer combos for a little party interaction.
- Keep extras warm in a low oven if you're serving a crowd.
- Don’t forget to save a few for yourself—these go fast.
 Save
Save 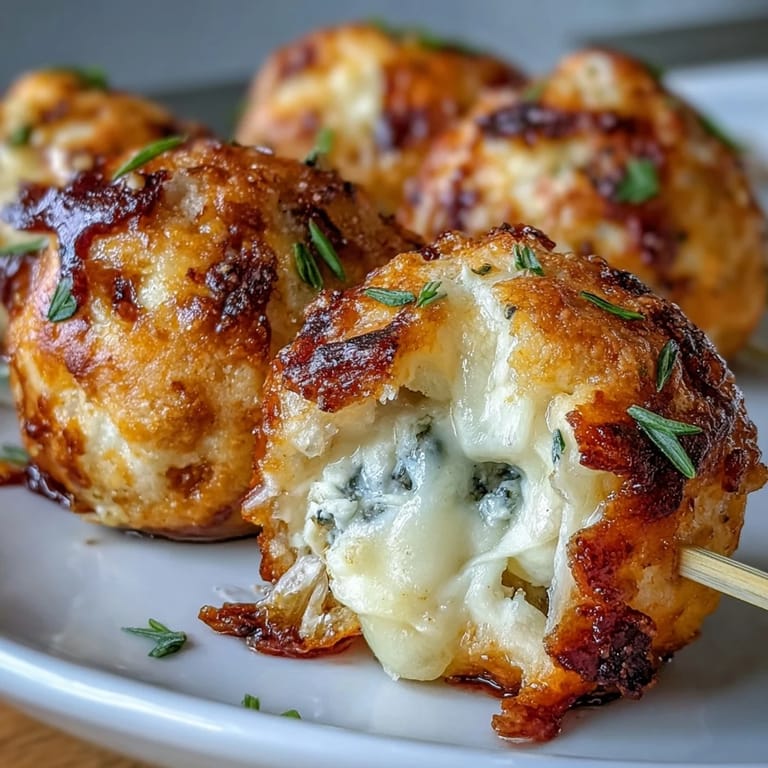 Save
Save Set a tray of these olive cheese balls down and watch everyone gather around—sometimes, it’s the simple, savory things that bring the most joy. Here’s to a little extra crunch and cheer at your next gathering.
Recipe FAQ
- → What cheese works best if I don't have sharp cheddar?
Sharp cheddar gives flavor and structure, but aged gouda, fontina or a mix of cheddar and mozzarella work well. Choose a cheese with good melting but some body so the dough holds its shape.
- → How do I prevent the dough from splitting around the olives?
Press seams tightly and pinch to seal, then roll into a smooth ball. Chilling the formed balls for 10 minutes firms the dough and reduces splitting during baking. Avoid overfilling each portion.
- → Can these be prepared ahead of time?
Yes. Form the filled balls and refrigerate on a tray for up to 24 hours, or freeze on a tray then transfer to a container. Reheat in a 350°F oven until warmed through and crisp. Thread onto skewers just before serving.
- → What indicates they're done baking?
Look for a deep golden color and a firm exterior; the balls should feel set and not doughy. Baking 16–18 minutes at 400°F is typical, but ovens vary—rotate the pan if browning unevenly.
- → How can I make a gluten-free version?
Use a 1:1 gluten-free all-purpose flour blend with xanthan gum included, and monitor dough moisture—some blends absorb less liquid. Chill the dough to improve handling and bake as directed, adjusting time if needed.
- → What are good dipping or pairing ideas?
Grainy mustard, bourbon honey, or a tangy aioli complement the savory cheddar and briny olives. Serve with pickled vegetables, cured meats, or crisp greens for a balanced spread.